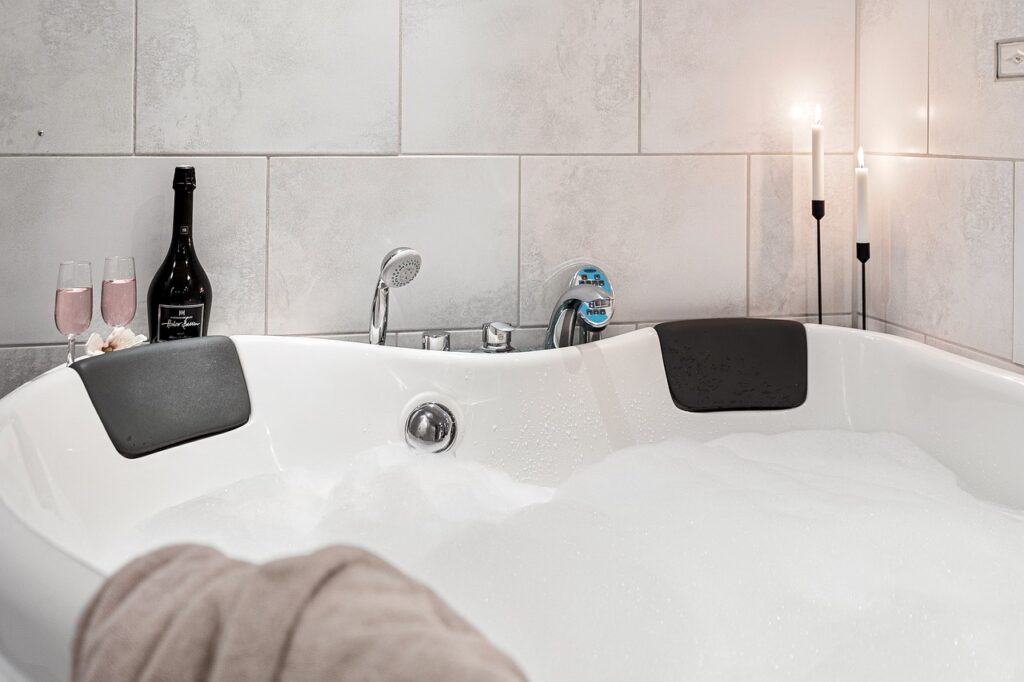
Fiberglass bathtubs are a popular choice due to their durability and affordability. However, over time, even the best tubs can develop cracks, chips, or other damage. Repairing a fiberglass bathtub may seem daunting, but with the right approach, it can be done efficiently and effectively.
Assess the Damage
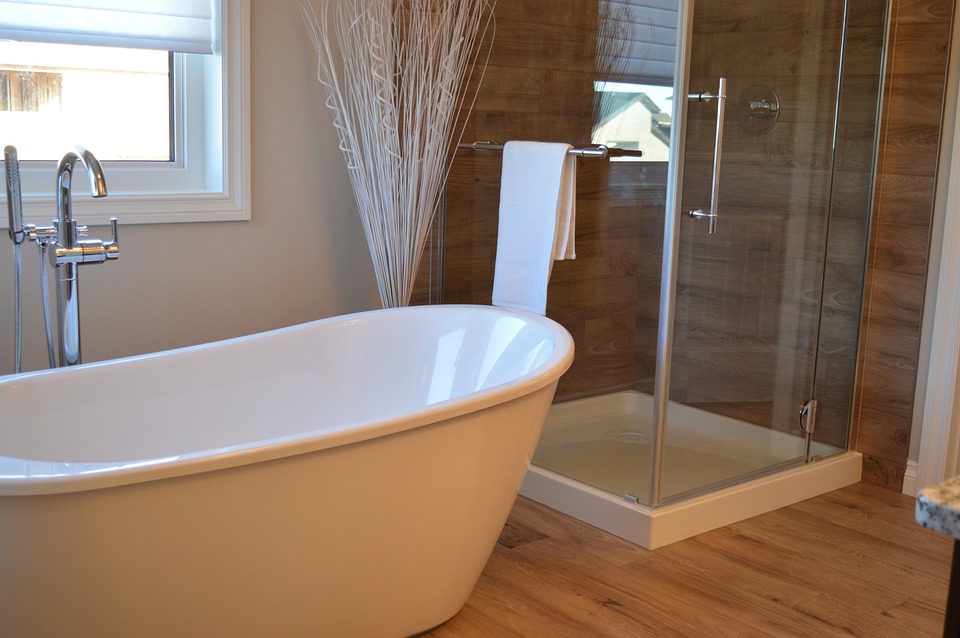
The first step in any repair is to assess the extent of the damage. Small cracks and chips can often be repaired with simple DIY kits, while larger issues might require professional help.
Gather Your Materials
For minor repairs, you’ll need:
- Fiberglass repair kit (available at most hardware stores)
- Sandpaper
- Utility knife
- Soft cloths
- Protective gloves
Step-by-Step Repair Process
- Clean the Area: Thoroughly clean the damaged area with soap and water. Ensure it is completely dry before proceeding.
- Prepare the Surface: Use sandpaper to roughen the area around the damage. This helps the repair material adhere better.
- Apply the Repair Material: Follow the instructions on your fiberglass repair kit. Typically, this involves mixing a resin and hardener, then applying it to the damaged area.
- Smooth and Shape: Use a utility knife or similar tool to smooth the repair material to match the contour of your tub.
- Finish Up: Once the repair has dried, sand it down until it’s flush with the tub’s surface. Clean the area with a soft cloth.
By following these steps, you can extend the life of your fiberglass bathtub and keep it looking great.